You can get the part!
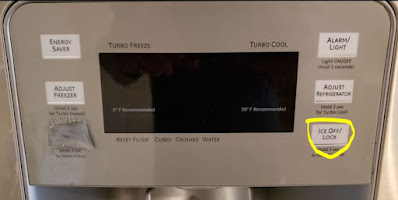
I have a GE PFSS6PKWBSS (also PFSS6PKWB or PFSS6PK ) french door refrigerator that started beeping randomly. It would act like the ice off / lock button was being pushed over and over again.

Unfortunately, if you call GE or look online for the WR13X10551 part they say it is out of stock everywhere, and they don't make it anymore. However, this refrigerator was actually made with Samsung. GE for some reason doesn't list the circuit board inside the dispenser control panel as a separate part, but Samsung still sells the board. If you remove the control panel (as shown in the video below), you can find the circuit board revision. Mine is DA41-00475A. (Apparently, there are many revisions of the DA41-00475 control board. You need to make sure you get the same revision letter at the end.)

You can go to samsungparts.com and type in the model number of the control board for your ice dispenser, and they still have the circuit board in stock. Then you can switch it out.* The process would be very similar to one of the videos below.

*I ultimately just decided to remove the speaker from the circuit board in my fridge like the video below shows instead of buying a new board. I thought, however, some may want to try the full fix I found. I suspect you could replace with the Samsung control panel itself too. The buttons on that panel look like they would hold up better. I can't, however, find what model number circuit board is in the Samsung control panels. Here's a link to what the Samsung Control Panel looks like: DA97-05423C. Maybe someone will be able to find what Samsung control panel goes with what Samsung control board.
Here's a video on how to remove the speaker:
Here's another video showing how take off the control panel:
I had also tried removing the dispenser control board and cleaning it with contact cleaner, but that didn't help. (I'm sorry I didn't think to make a video of when I removed the circuit board.)